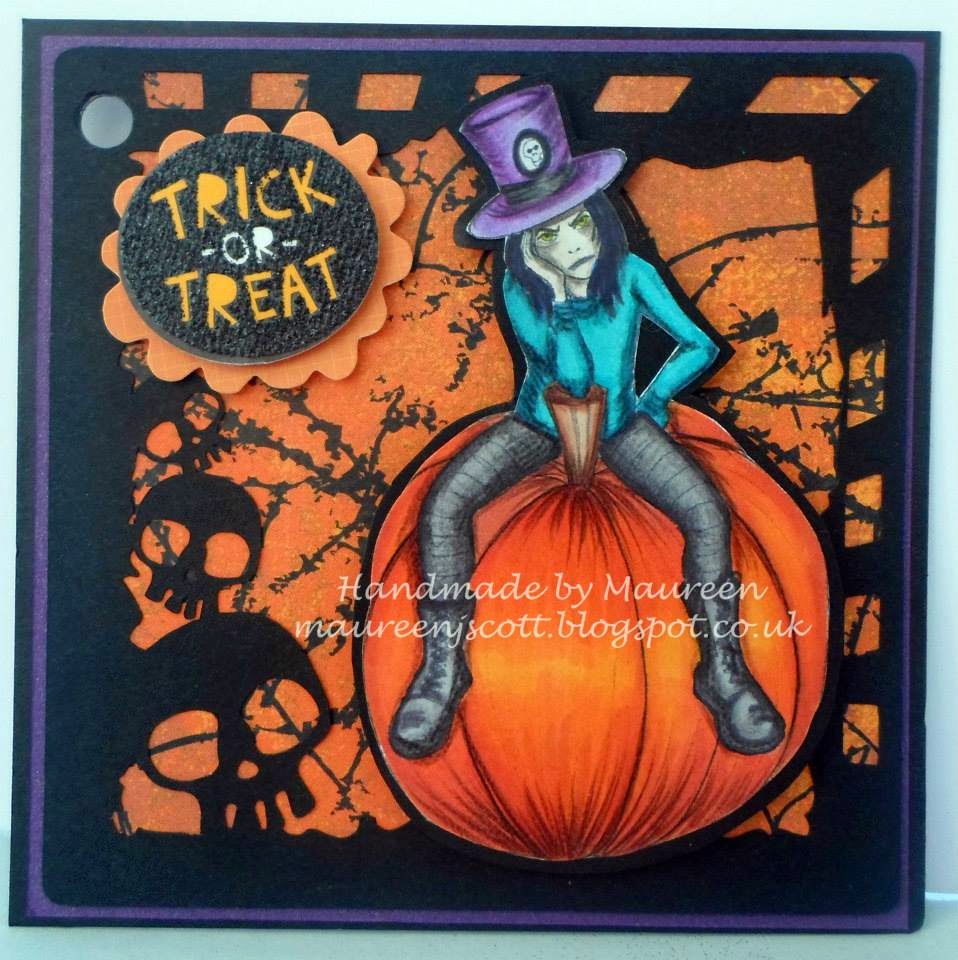
Good morning! I am Maureen, aka Mo, and I am delighted to be a part of the design team here at SLS Lines. This is my first Inspiration post for you and I am showing a cute little Goth Girl with Heart Ballooons.
I do my colouring with Promarkers and for this post I decided to make an ATC instead of a card. This is a 2.5"x3.5" miniature artwork. I have used Graphic 45 Steampunk Spells paper for the background and heat embossed the edges with black embossing powder for a different edge. The sentiment is an embellishment from my Halloween stash!
I hope you like my project, it's featured on my own blog today too.
Thanks for joining us!
Mo xxx
Followers
Tuesday, September 30, 2014
Monday, September 29, 2014
Girl with Roses - Tanya's Inspiration
Good morning everyone! Today is my first Inspiration post for SLS Lines Digital Stamps. I'm really excited to be able to share with you. And here is my September inspiration with you for SLS Lines Digital Stamps.
I used Pretty Girl with Roses for my image which was colored in with copics. I had some valentine themed papers that I thought would go perfect with her which I then matted all with black card stock. I used some roses, ribbon (yup it's hiding lol) and a doily from my stash.
Sunday, September 28, 2014
Zombies - Crafting Vicky
Hello! It's my 1st post for inspiration for SLS Lines! I'm very excited to share with you a little make that I did that's a little darker than what as been shown in the previous days bwahahaha :)
So for my make I used the great image Zombies that you can find by clicking that link.
Here's a closer look at them, they are coming for you!!!
They are scary right?!? If you want the details of this make check out my blog here.
So that's it for me for today! Hope that you will want to go over at the store and check it out. There's loads more fabulous images!!!
Hugs
Crafting Vicky
Thursday, September 25, 2014
Bettinas flower fairy in shabby chic style
It's Bettina here today and I have a little inspiration project to show you. Hope you'll like it:
For my september inspiration I've used Flower Fairy that you can find in the SLSLines Digital shop. I've coloured her with my promarkers and cut the image out. I've used a Sizzix shape die for cardbase and used some designpapers from stash and added framtage, pearls. flowers and lace. I've added some diamond stickles on to her wings.
Wednesday, September 24, 2014
September Inspiration with Susan
Good morning everyone! Today is my first Inspiration post for SLS Lines Digital Stamps. I'm really excited to be able to share with you. And here is my September inspiration with you for SLS Lines Digital Stamps.
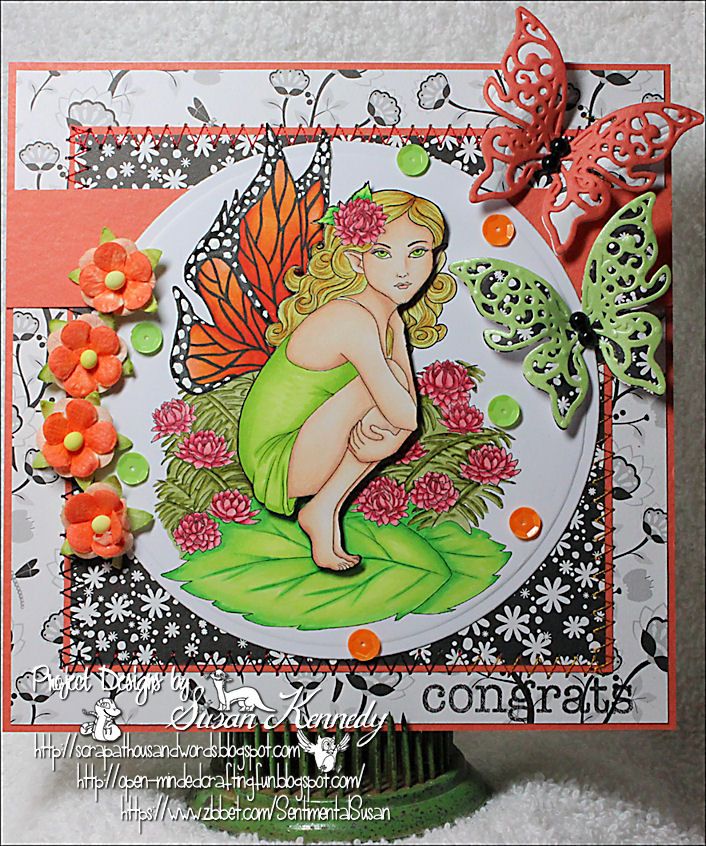
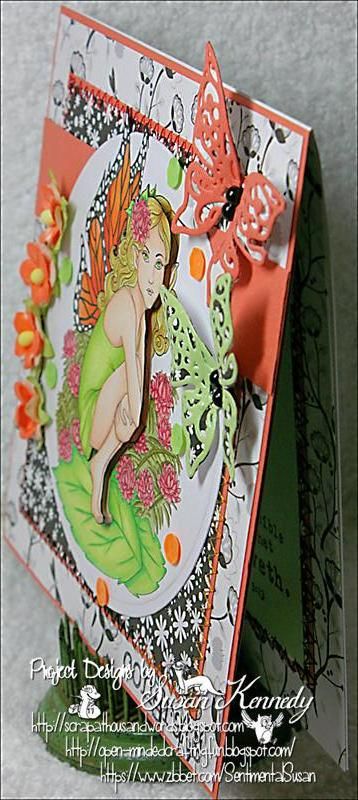
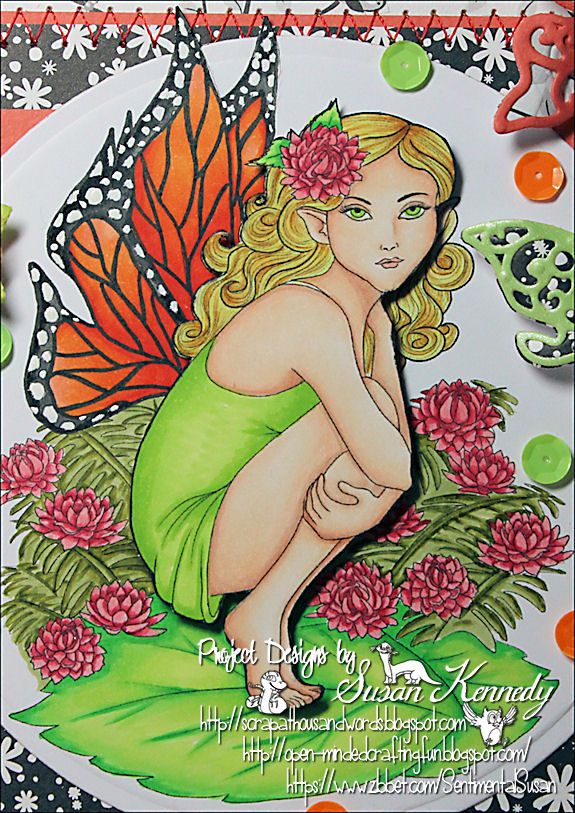
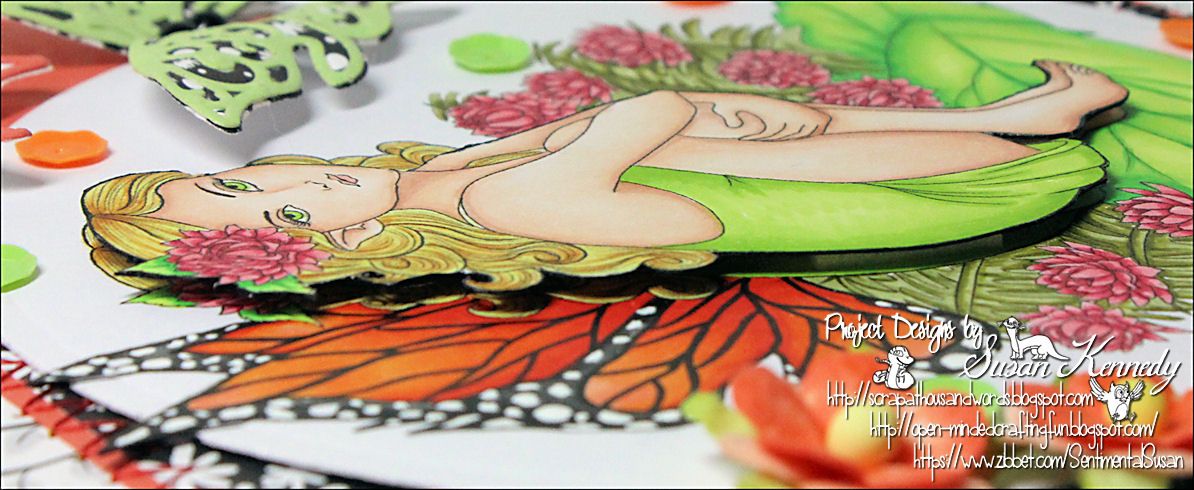
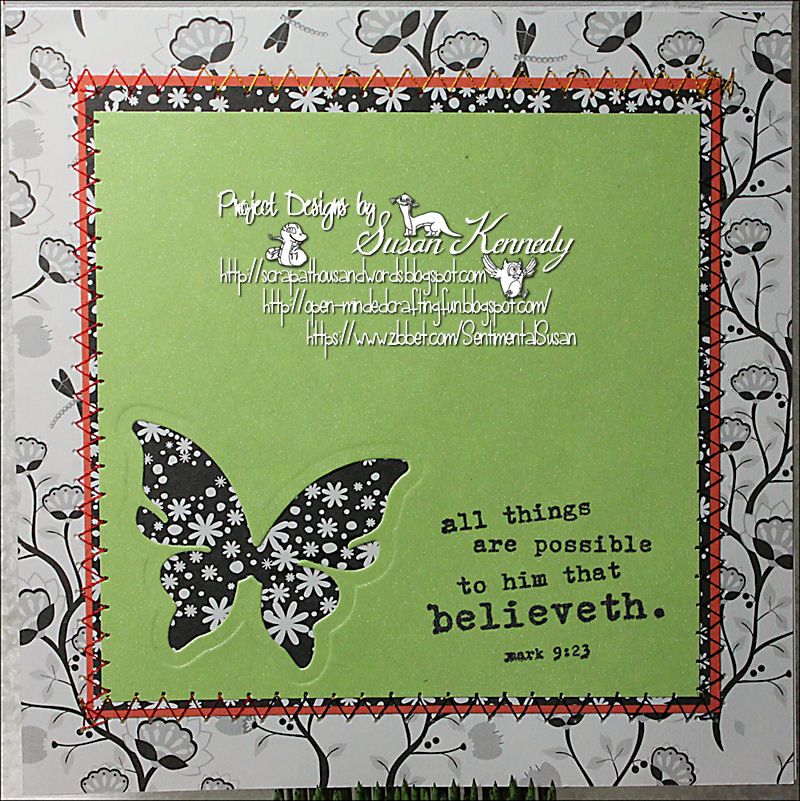
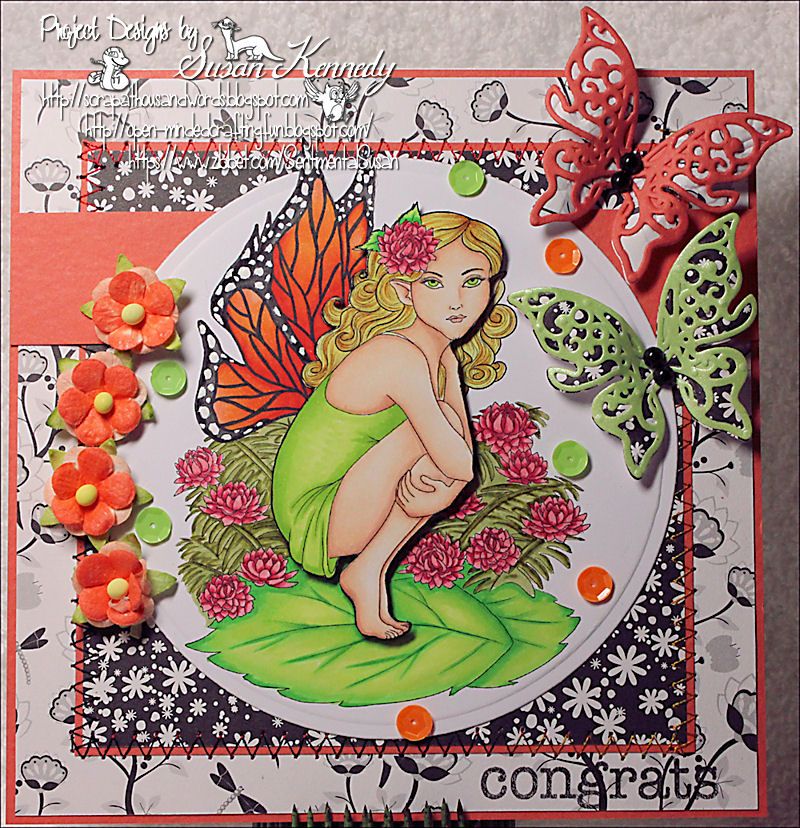
For my September inspiration I have used Flower Fairy which you can find at the SLS Lines Digital Stamps Shop. I colored the image with my Copic markers and I have decoupaged her. The butterfly and circle dies are Spellbinders. I added pearls to the butterflies as well. I added the small flowers and the sequins and the stitching.I layered the papers on the inside and added stitching as well. I used a negative butterfly cut for the inside.
Copic Markers Used:
- Skin: E000, E00, E01, E11
- Dress and Eyes: YG23, YG25
- Leaves: YG01, YG03, YG06, YG09
- Flowers: R32, R35, R37
- Fern Leaves: YG93, YG95, YG97
- Wings: T5, T7, T9, YR02, YR04, YR07, YR09, Zig Black .05, Copic Opaque White
- Hair: Y11, Y21, YR24, YR24
- Lips: R02
Tuesday, September 23, 2014
Easy Coloring Tutorial with Copics
 |
| Click to see a larger image |
I'm using the Copic Ciao markers for this tutorial. I love the brush end and they're wonderful markers for refilling too.
You can click to see larger images if you'd like. Happy coloring!

Step 1: Color the base
Color your stamp print out with a pretty color scheme. Ensure that you have a nice, even application without marker streaks. If you have streaks, then go over it again with another application to smooth it out.
I used Copic E50 for the skin tone.
Step 2: Light Source
Shading accurately is aided by having a proper light source / direction. Where should the light be coming from in your image? I find it easiest to just go with the top right. I imagine a light (or the sun) shining down on this pretty face and it highlights the right side and creates shadows on the left. With a darker skin tone marker, I added shadows to her face is the appropriate places with a top right light source.
I used a Copic E95 (Flesh Pink) for the shadow color.
Great link:
Face changes with shifting light source
Step 3: Midtones
After plonking down my darker E95 color, I went back with a midtone color and smoothed things out by shading over top of my darker color and also into the lighter E50 color. This helps to create a smoother transition between marker tones and not leave you with hard line.
I used a Copic E00 (Skin White) for the midtone color.
Step 4: Pinks!
To add a little more color to this pretty face, I used a soft pink just under her cheekbones and on her nose. This adds a bit more definition to her face and adds more color to the skin tone too.
I used Copic R20 (Blush) for the pinks.
To add some volume for the hair, I used a darker brown with the brush tip to create some wavy curves.

Step 6: Dark Lowlights
To finish off her long wavy hair, I used a dark brown and created soft curves with the brush tip where the hair might naturally have darker tones with a top right light source.
Hair Shades: E35 (base color) E25 (mid) and E18 (darkest).
Monday, September 22, 2014
September's New Releases!
Hello everybody!
It is the day of first New Releases SLS Lines!
You can find these wonderful images in the shop " SLSLines "!
Here are the realizations which our member DT created for this occasion.
We hope that these fabulous cards inspire you and we wish you an excellent day!
Sal, Valou and the DT Team
Thursday, September 18, 2014
Nature Fairy- Lady's inspirational post
Hi folks
It's time for my first inspirationnal post here...
you surely like this one too much...
I have colorized the Spectrum Noir
and used a sentiment found on the net
Butterfly-punch Martha Stewart
Purple satin ribbon
A little look in the shop?
I hope that this has pleased and inspired
and I count on you for a next post very soon
Wednesday, September 17, 2014
Suzi's Inspiration Post
Good Morning, Today I'd like to share with you a little creation of mine, using the wonderful Sad Teddy Bear image. I'm not too sure what he has been up to, but he really does not look very well, personally I think he was partying a bit too hard last night.
I made an Easel Card to showcase this wickedly fun image. I do love making Easel Cards, and they are so easy. Check out my blog post today for full step by step details on how I created this project.
Here is a close up of the Teddy Bear
That's all from me for today, make sure you come back soon, for some more gorgeous creations by the rest of the Design Team.
Bye for now
Suzi
xxx
Tuesday, September 16, 2014
Valou - Inspirational Post
Hello everybody!
I hope that you all are fine today! Here, the sun is there! :-)
Here is my first inspirational post. I hope that it plaeses you!
I used some paper " white Bazzil Cardstock " and some paper " Joy! Craft ".
I used an image " SLSLines ", which you can find HERE.
I colorized it in the following way:
- Ink "Distress Tattered Rose" and "Distress Vintage Photo" for the skin.
- Ink "Distress Antique Linen" and "Distress Brushed Corduroy" for hair.
- Ink "Distress Picked Raspberry".
- Ink "Distress Salty Ocean".
- Ink "Distress Mowed Lawn".
I cut the image and I stuck it on a die-cut realized with a dies " Spellbinders-Nestabilities - Majestic Ovals ". Under the image, I stuck of the lace of ecru Calais and the pink creased ribbon.
I added a big pink rose (50 mm), a white daisy, a flower of cherry tree ecru, two Lilies turquoise blue , and two pink Lilidafts.
Thank you of your passage and wishes you an excellent day!
Hugs,
Friday, September 12, 2014
Our first challenge starts!
Hello everybody!
Today, it is a big day!
Indeed, we begin our first challenge!!!
We are very happy to welcome you on the blog and we hope that you will be numerous to participate!
Do not hesitate to publish this information about your blogs, your facebook, your Twitter, please. That would be really very nice!
The theme of this challenge is "Ladies"
You can find some small rules HERE.
And now, here are fabulous cards realized by our members DT:
Now, it is in turn to realize a beautiful project and to try your chances in our challenge!
We thank you already and wish you excellent moments of craft!
Good luck to all!
Amanda, Valou and the DT-Team
Tuesday, September 9, 2014
8th Member, Presentation!!
Hello followers!
This morning, it is the day of you to present our next DT member!
We are proud to present you Maureen!
"I am Maureen, I am 33 years old, I’ve been married to Daniel for 14 years and we have 4 children. I trained as a nurse a few years ago but was pregnant when I qualified and while I took some time to have a couple of babies, hubby is off at uni training to be a Social Worker. In the meantime, I’ve rediscovered my love of crafting! I have always drawn things, I studied Art and Design at school and after getting married and having my son I discovered card making thanks to a friend and crafty tv channels! That was 12 years ago! I didn’t do much while I studied from 2006-2009 and then after having the babies I didn’t really do anything until about a 2 years and now my addiction is greater than ever! I love learning new crafty techniques and discovering new products and 'must haves' and expanding my stash! I am delighted to be joining this highly talented team and cant wait to get started! mo xxx http://maureenjscott.blogspot.co.uk"
Thank you very much Maureen!!
See you tomorrow!
Sal & Valou
Monday, September 8, 2014
7th member, Presentation!!
Hello followers!
This morning, it is the day of you to present our next DT member!
We are proud to present you Suzi McKenzie!
Hi I'm Suzi McKenzie, I'm 40 and live in Aberdeen, Scotland with my handsome hubby Stewart and our three adorable fur babies (Alice, Dotty & Sophie). I no longer work due to health problems (Fibromyalgia, Anxiety, etc) so Crafting is my therapy. I love to colour and have done since childhood. I've been Card Making and Papercrafting for over 10 years now, and i love it, not only do i get to play with awesome images, beautiful embellishments and pretty paper, but I've met some wonderful people who share my passion. It's a true honour to be joining The SLSLines Digitalstamps Design Team, and I'm looking forward to sharing my love of colouring and all things bright and cheerful with you all.
Thank you very much Suzi!!
See you tomorrow for the next Designer!
Sal & Valou
Subscribe to:
Posts (Atom)


